本文译自「Creating a CRT Screen Effect in Jetpack Compose」,原文链接https://www.sinasamaki.com/creating-a-crt-screen-effect-in-jetpack-compose/,由sinasamaki发布于2025年11月7日。

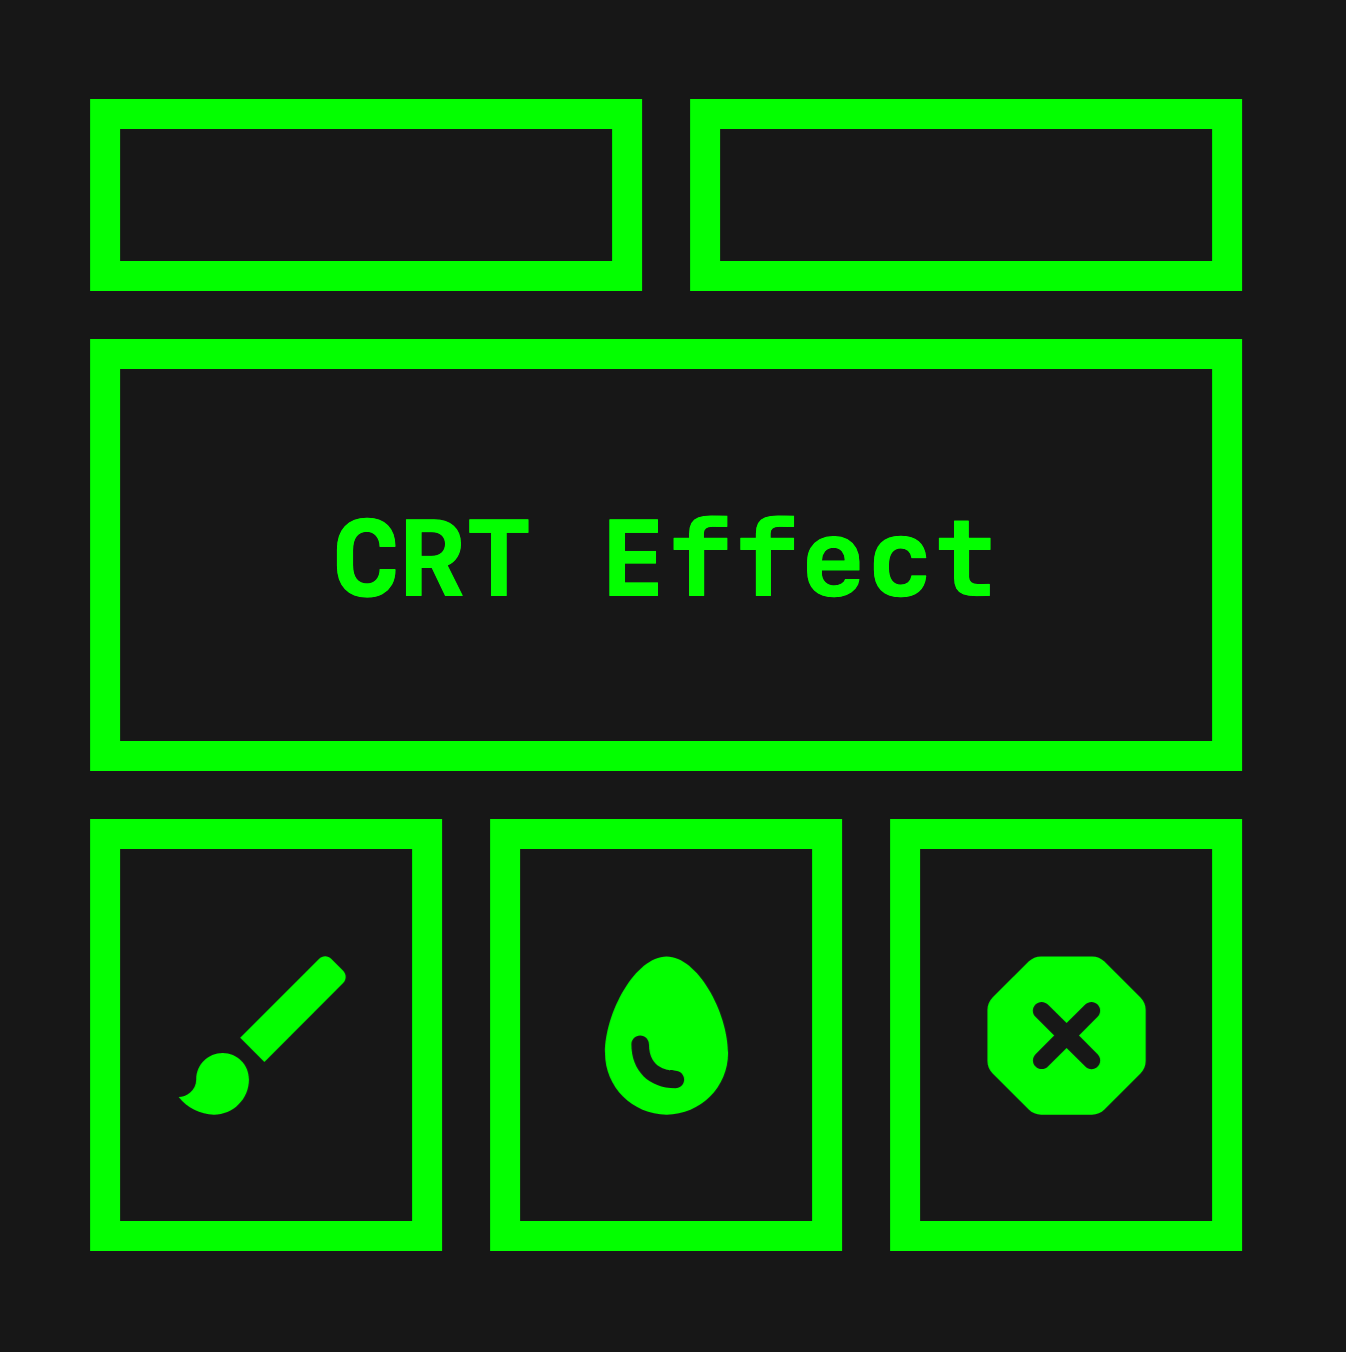
CRT 显示器具有独特而怀旧的外观:模糊的边缘、扫描线和轻微的色彩溢出。让我们尝试使用 GraphicsLayer 和一些巧妙的图层技巧在 Jetpack Compose 中重现这种效果。
GraphicsLayer
与上一篇文章一样,此效果的基础是 GraphicsLayer。它允许我们将内容绘制一次到屏幕外缓冲区。然后,我们可以以极低的性能开销多次使用不同的效果重新绘制它。
1 2 3 4 5 6 7 8 9 | |
一旦我们将内容记录到 graphicsLayer 中,就可以使用 drawLayer(graphicsLayer) 根据需要多次绘制它。
我喜欢在黑色背景上绘制色彩鲜艳、饱和度高的内容,并运用这种效果。以下是我们将应用此效果的基础可组合对象。
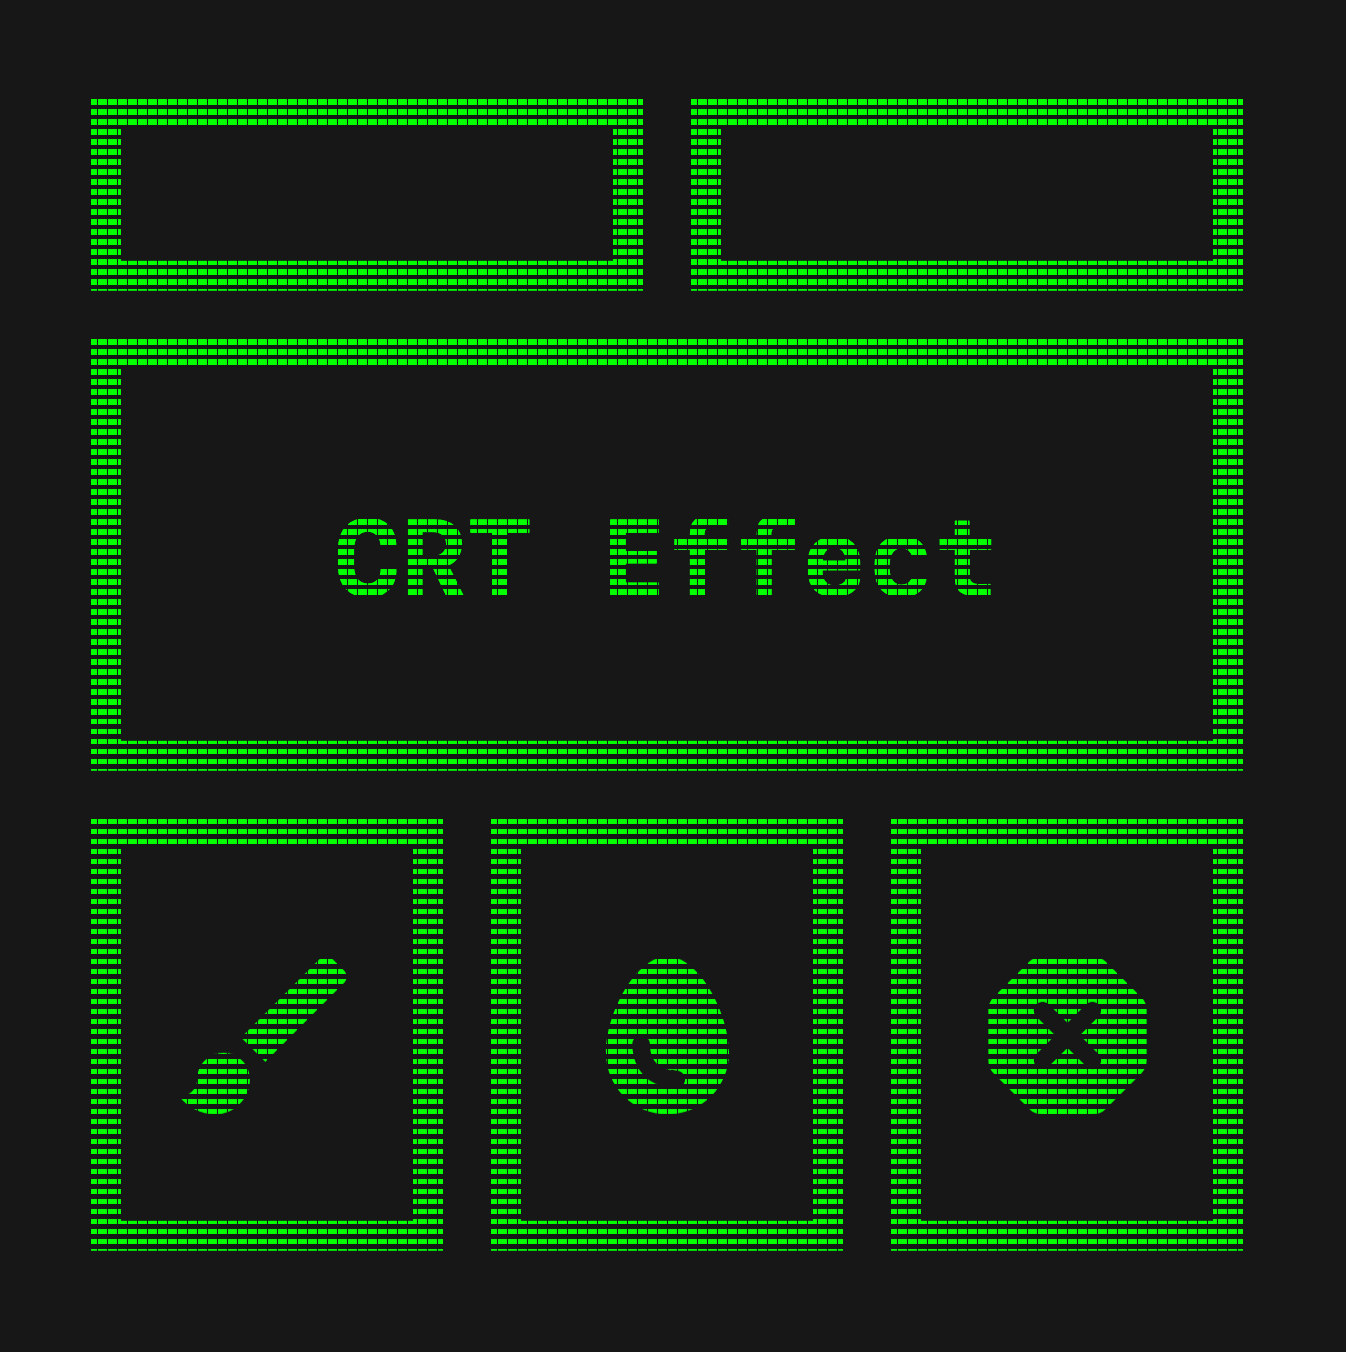
添加扫描线
为了模拟 CRT 显示器上的水平扫描线,我们将使用重复渐变。让我们将其放入一个扩展函数中,如下所示:
1 2 3 4 5 6 7 8 9 10 11 12 13 14 15 16 17 18 19 20 21 22 23 24 25 26 27 | |
我们手动定义颜色停止点,以便在颜色之间形成清晰的边缘,然后将 tileMode 设置为 Repeated。这样,再加上较短的起点和终点,就能得到许多重复的平行线。
扩展函数还会接收我们所需的透明度和 BlendMode 参数。
然后,我们可以使用此函数在 graphicsLayer 上绘制扫描线。
1 2 3 4 5 6 | |
将混合模式设置为 DstOut 会从绘制的内容中“减去”我们的渐变,从而产生这种效果。
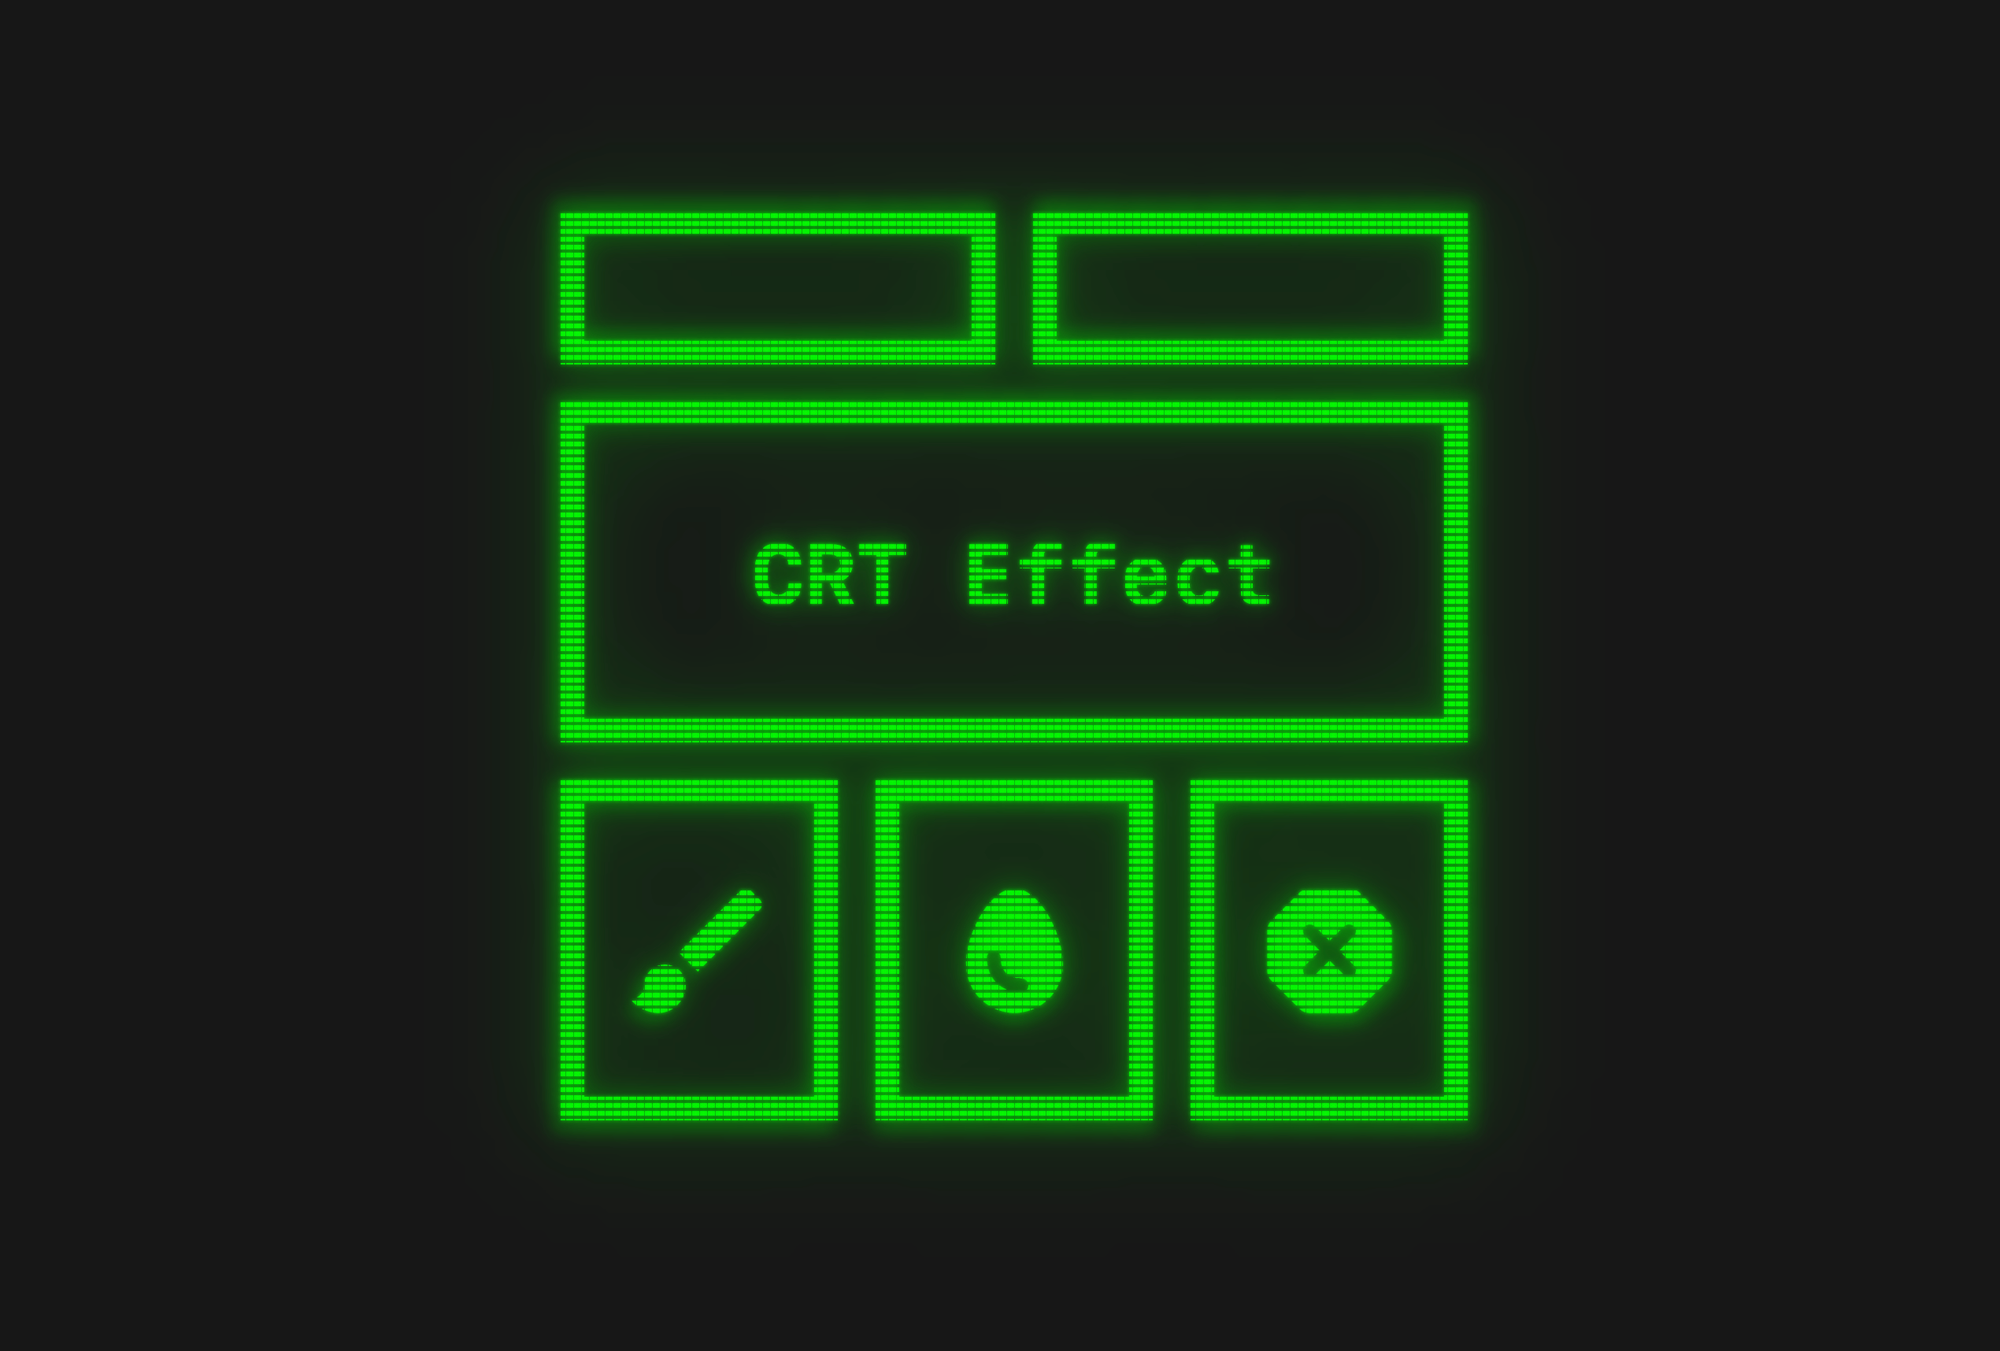
构建模糊图层
为了实现 CRT 屏幕常见的发光效果,我们将多次绘制 graphicsLayer 图层,每次绘制时分别设置不同的模糊半径、透明度和缩放比例。
1 2 3 4 5 6 7 8 9 | |
我们将使用一个 Triple 列表来存储每个图层的数据。该列表的顺序也定义了它们的绘制顺序。我建议你尝试调整这些值和顺序,以获得所需的效果。但这是我目前使用的方法。
1 2 3 4 5 6 7 8 9 10 11 12 13 14 15 16 17 18 | |
然后,我们使用列表中的值绘制每个图层。在 drawBehind 修改器上方,我们将图层大小设置为与父图层匹配,并应用模糊、缩放和透明度。请记住将模糊设置为 Unbounded,使其超出包含它的可组合对象的边界。
屏幕抖动
最后,我们来添加屏幕抖动效果,以模拟 CRT 显示器特有的抖动。我们可以通过创建一个 Offset 对象,并用 -1 到 1 之间的随机浮点值来更新它。
1 2 3 4 5 6 7 8 9 10 11 | |
这里只需在一个 while 循环中即可完成。可以调整延迟时间来控制闪烁的间隔频率。
1 2 3 4 5 | |
然后可以使用修饰符来应用此偏移量。

整合所有功能
让我们将所有这些功能组合成一个可轻松使用的组合。它会接收 content 参数以及 flickerDelay 参数,后者用于控制闪烁频率。
1 2 3 4 5 6 7 8 9 10 11 12 13 14 15 16 17 18 19 20 21 22 23 24 25 26 27 28 29 30 31 32 33 34 35 36 37 38 39 40 41 42 43 44 45 46 47 48 49 50 51 52 53 54 55 56 57 58 59 60 61 62 63 64 65 66 67 68 69 70 71 72 73 74 75 76 77 78 79 80 81 82 83 84 85 86 87 88 89 90 91 92 93 94 95 96 97 98 99 100 101 | |
然后,你可以像使用其他可组合组件一样使用它:
1 2 3 | |
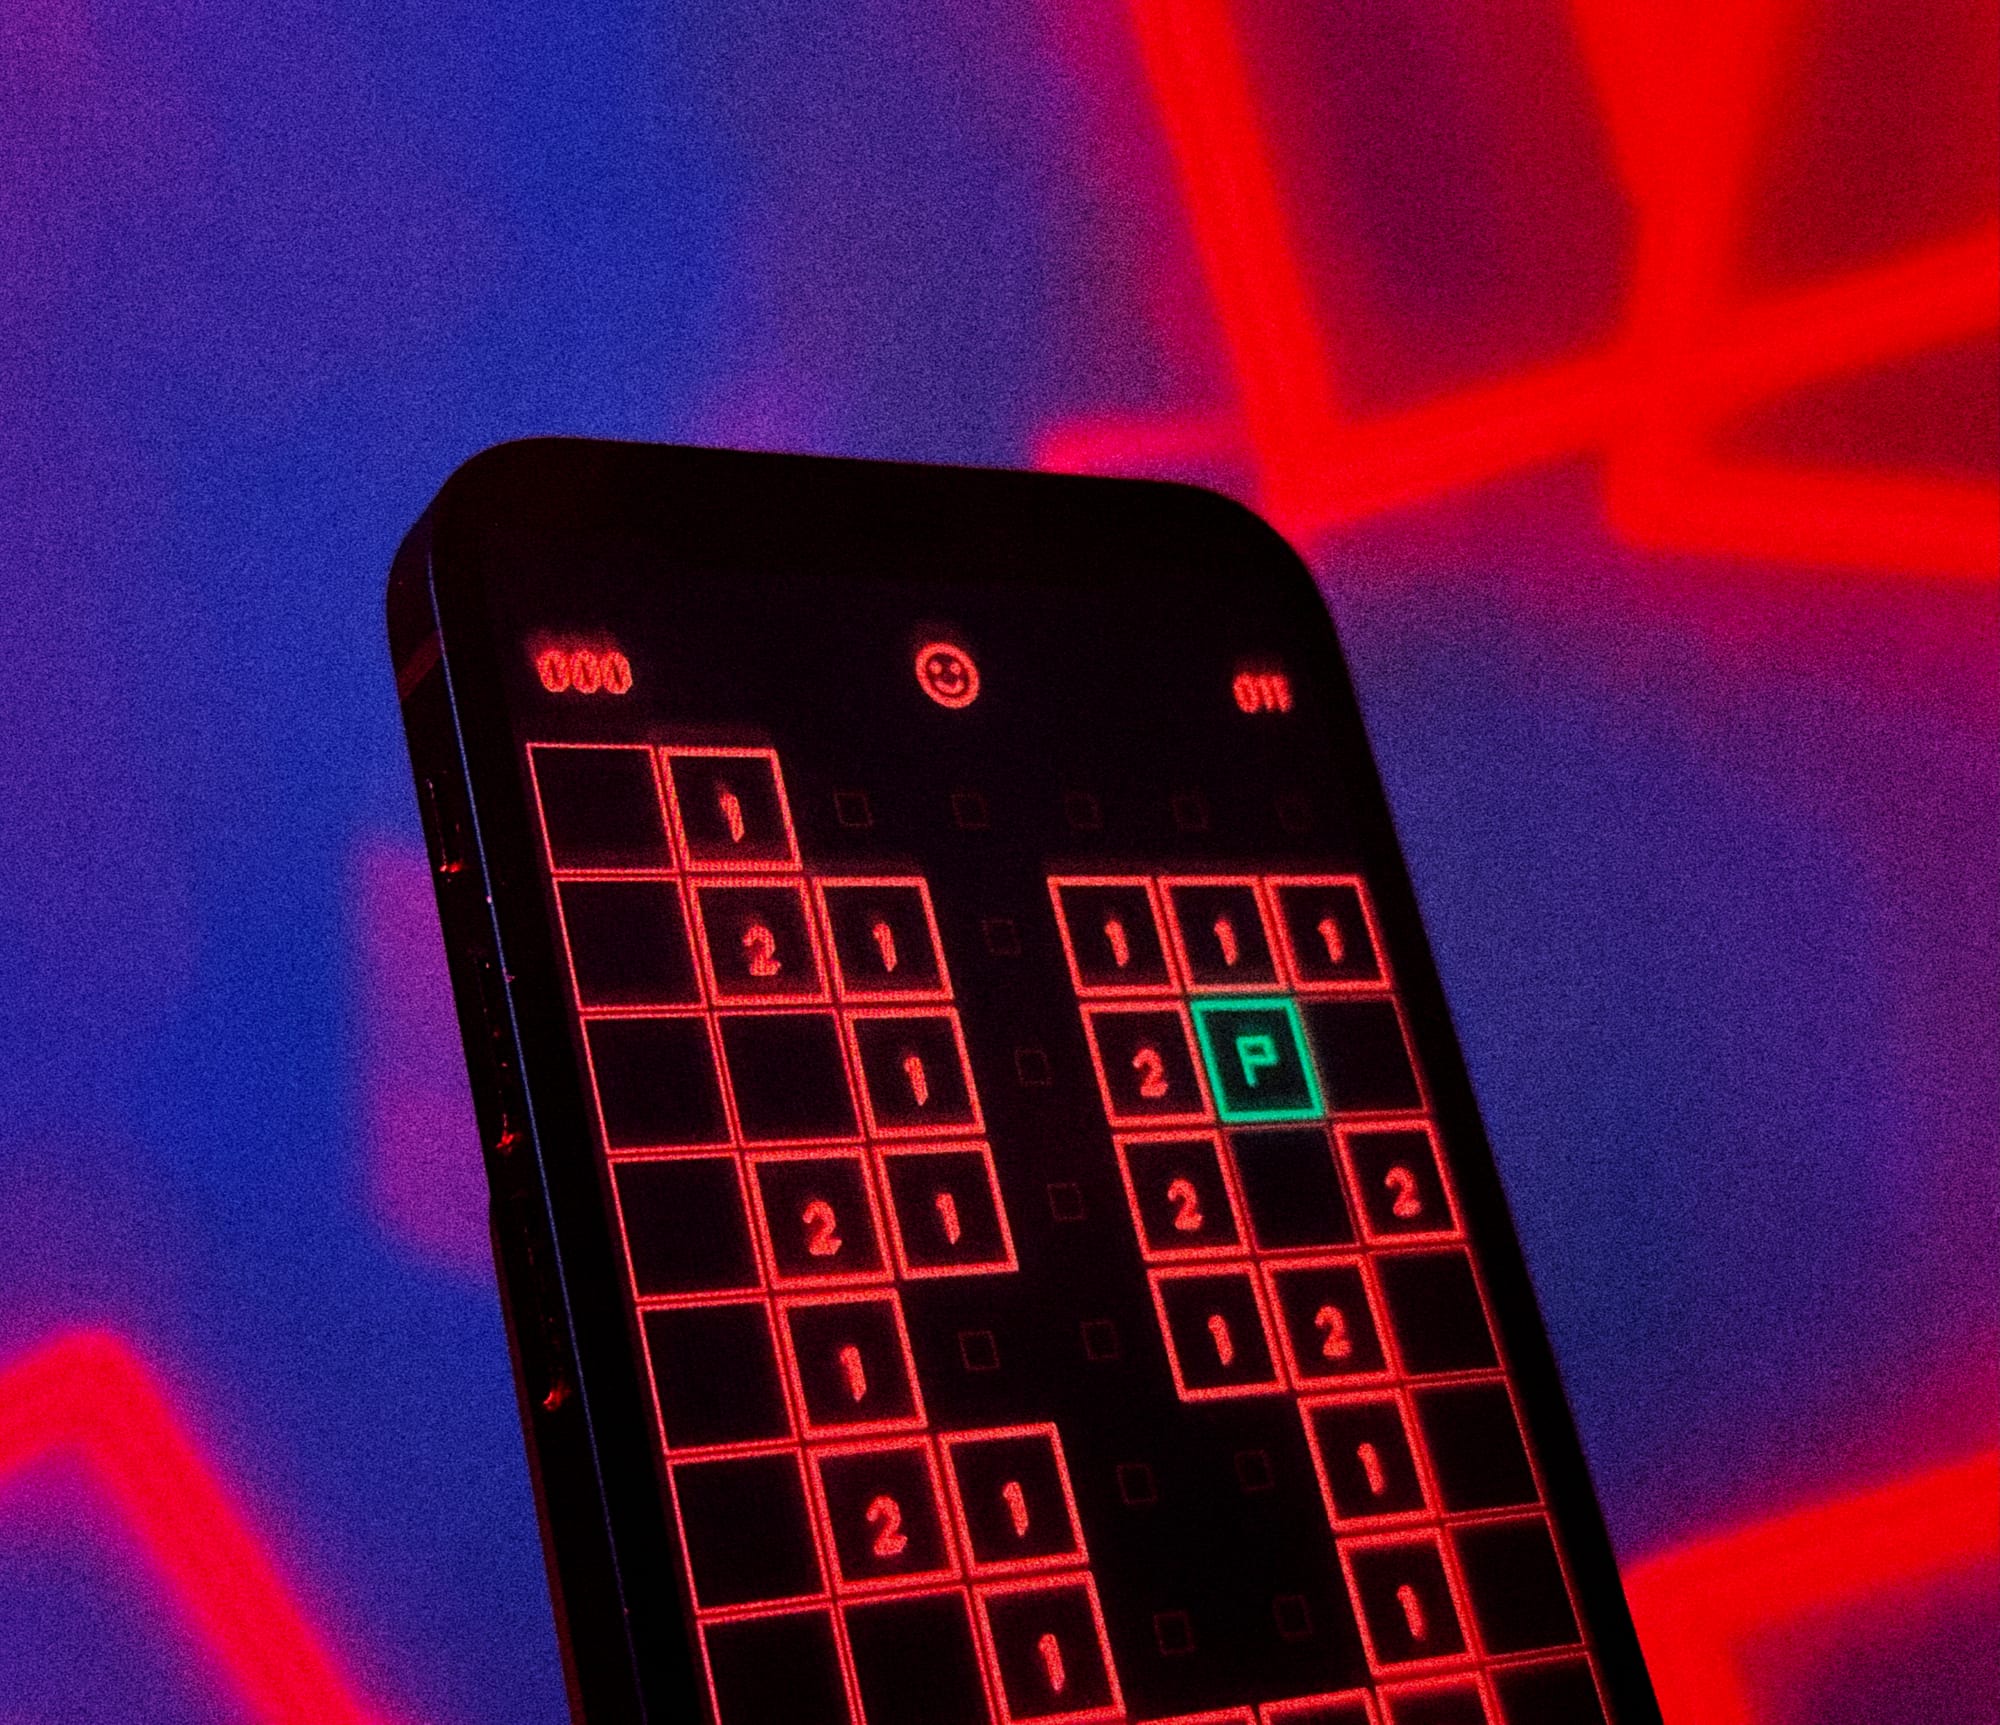
Sweeper 更新
如果你想查看实际效果,请查看最新的 Sweeper 更新,该更新使用 CRT 效果创建了一个令人毛骨悚然的万圣节主题。
https://play.google.com/store/apps/details?id=com.sinasamaki.chroma.sweeper
https://apps.apple.com/us/app/sweeper-by-sinasamaki/id6752220495
感谢阅读,祝你好运!